The complete
restoration took about four hours, spread across several sittings. If you
choose to undertake this, all I can say is "be methodical."
I
worked left-to-right, and marked off each part on the part layout diagram as I
went along.
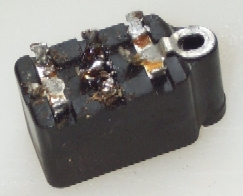
The
Bakelite Block Capacitor
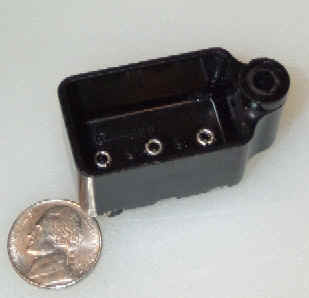
One
of the special challenges was the "universal bakelite
capacitor." I believe these may also be referred to Bathtub
capacitors. Philcos of this vintage have capacitors on the input voltage
line, and those capacitors are encased in tar to keep them dry. I probably
would have replaced these caps anyway, as I was doing everything else, but the
black ooze made it imperative. (See item #5 in the pre-flight
checks).
 Chuck
Schwark's Philco Repair Bench has a fantastic step-by-step guide to rebuilding
these block capacitors. It can be a bit hard to find on his site, but
here's the link (http://www.philcorepairbench.com/capbuild.htm).
Chuck
Schwark's Philco Repair Bench has a fantastic step-by-step guide to rebuilding
these block capacitors. It can be a bit hard to find on his site, but
here's the link (http://www.philcorepairbench.com/capbuild.htm).

 and
and