|
|
38-9 Restoration |
|
| Home The Beginning Don't Plug it In |
 |
|
|
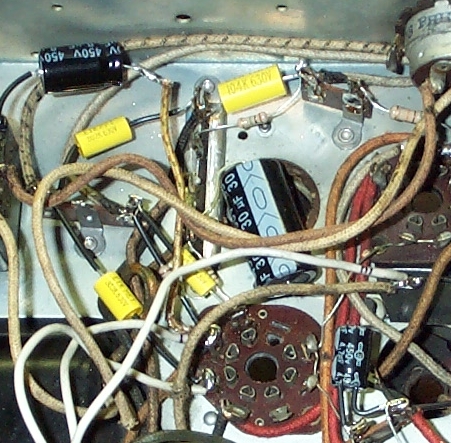
When replacing the caps I clipped the wires of the originals, but left them in place. These are big cans mounted to the top side of the chassis, and leaving them in place provided a more authentic look to the finished radio. Watch out for polarity. It matters greatly for these. Here's what they look like in place:
The black-and-white ones are the electrolytic capacitors. The yellow ones are modern film capacitors that replaced antique paper ones. [ Prev ] [ Next ] |
|
Copyright © 2004 look4000@verizon.net
|